Before we started, it is best to look take at look on hardware and modules is support on the GNS3. Take a look on this link.

On the menubar, click Edit, select IOS images and hypervisors. The IOS images and hypervisors menu will be launched.
External hypervisors

Ensure that there is at least 4 hypervisors host. In-order to created Hypervisors, set the path of Working Directory to a folder e.g. C:\GNS3\temp. Click Save button at least 4 times.

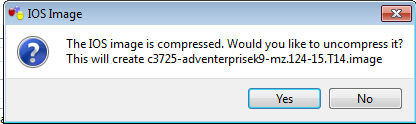
Select where is the path for the IOS image file. In this example, c2600-bin-mz.123.64f.bin is going to be used. (Hint: Google for IOS image file.)
There is no need to enter or set the settings in the platform as the image will be automatically detected by GNS3.
There is no need to enter or set the settings in the platform as the image will be automatically detected by GNS3.

Select the IOS image and click Open. In this example, c3725-adventerprisek9-mz.124-15.T14.bin is used.
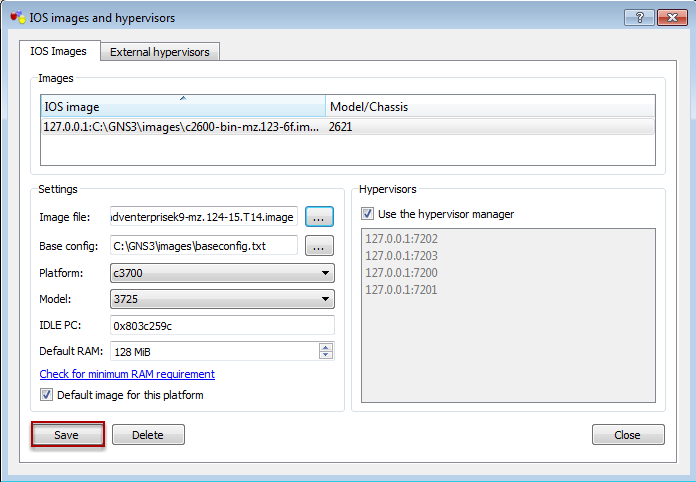
Click Save
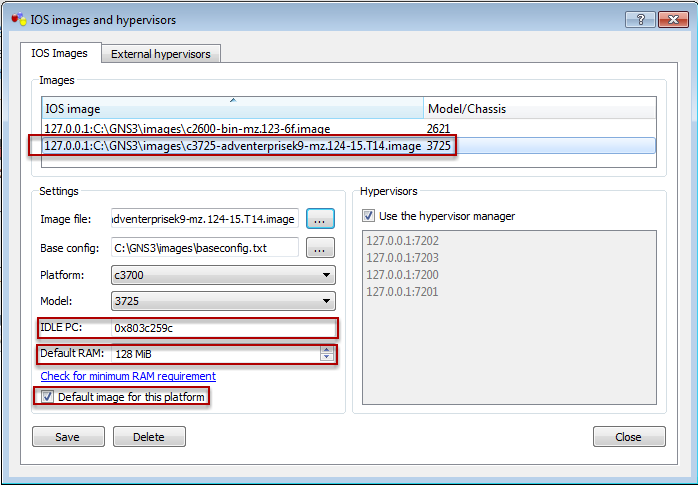
The IDLE PC is automatically filled up. The RAM for this IOS is 128MB and with the Default image for this platform is ticked. If the IDLE PC is not filled up, a warning will be shown. Below is a description on how to solved this,
Warning: IDLE PC will have to be configured.

Notice the settings is auto configured. Once done, click Save or you can Find out why and how on configuring IDLE PC. Refer to the articles on "Missing IDLE PC values after adding IOS images".