New Project won't be saved as we going to setup the IOS Image
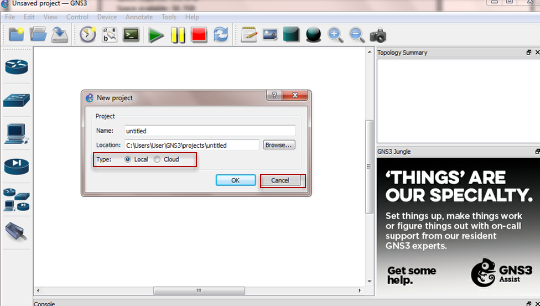
Launching GNS3 1.1, the "New Project" prompted would be shown to save new project locally or in the Cloud. For this, we will just Cancel.
Adding a Cisco IOS image
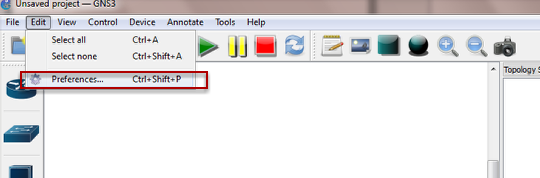
Select Prefernces... in the Edit Menu

Select Dynamips > IOS routers

Browse the Cisco IOS image

In this illustration, c3745-adventerprisek9-mz.124-25d.bin will be used.
Hint: Google to find the IOS images.
Hint: Google to find the IOS images.
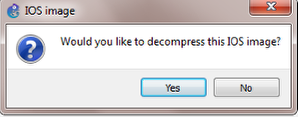
Yes

Next >
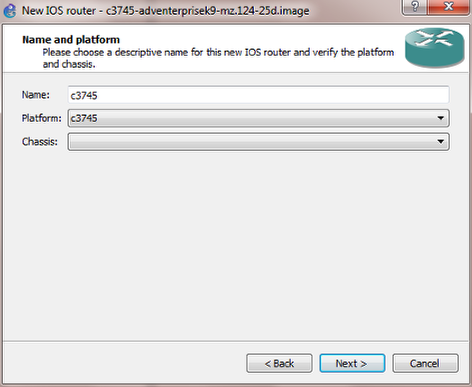
Select the default model for the IOS image, and Next >

Leave as default or increase the RAM. [Just a note: ensure the laptop/PC had enough memory to support the IOS image Default RAM)
Select Next >
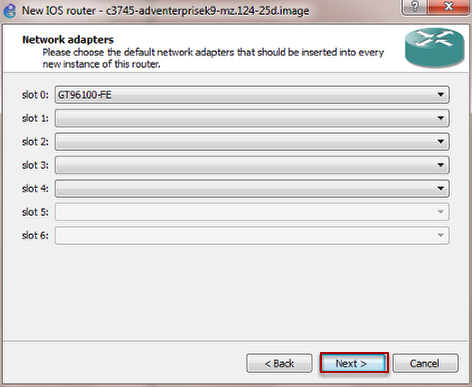
Slots can be added depending on the Router Configuration
Slots can be added depending on the Router Configuration

Select Next >
WIC modules can be added depending on the Router Configuration
WIC modules can be added depending on the Router Configuration
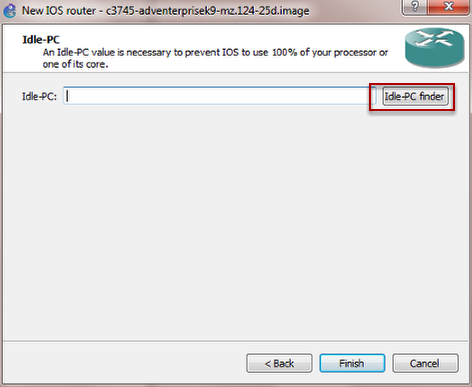
Click on Idle-PC finder.

Select Finish even there is no Idle-PC value as it can manually define in the next screen below, if it failed to located a value.

Apply and OK to add the IOS image
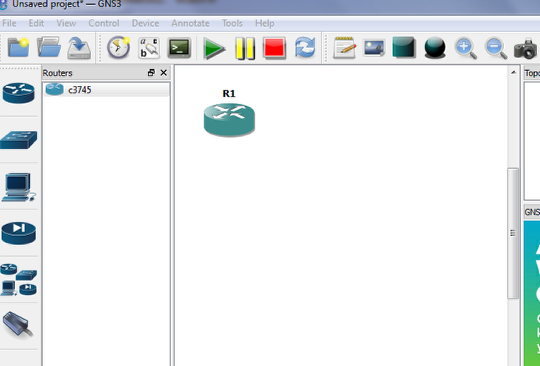
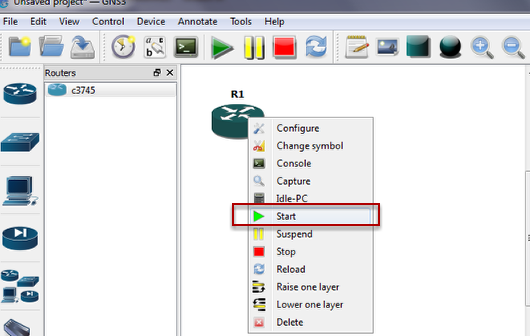
Power on the Router, select Start. [Right-click on the R1 router icon to get that menu]
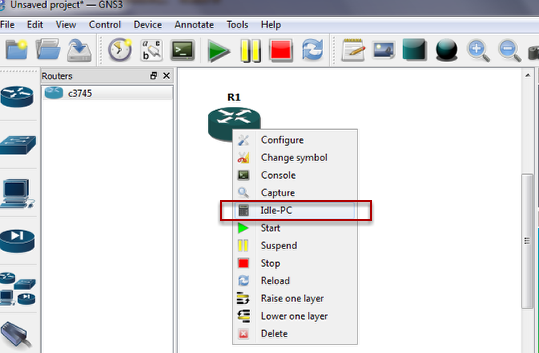
Select Idle-PC once the router had been power on. [Right-click on the R1 router icon to get that menu]
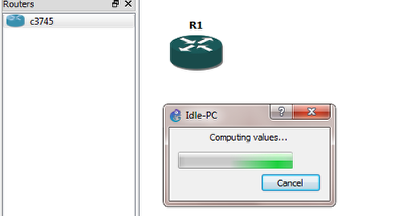
Allow it compute the Idle-PC value.

Select the value with * behind, follow by Apply and OK
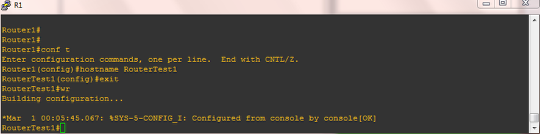
Console into the router and change hostname to RouterTest1