Cisco IOU VM run with errors after installing GNS3 1.1 to GNS3 1.2

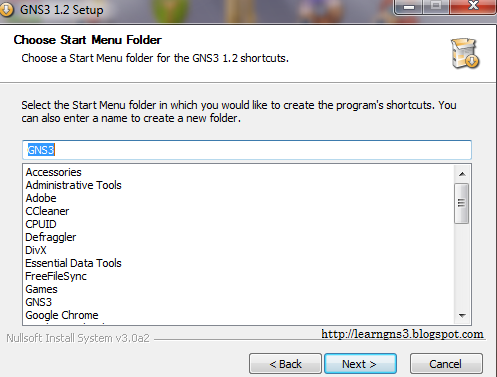
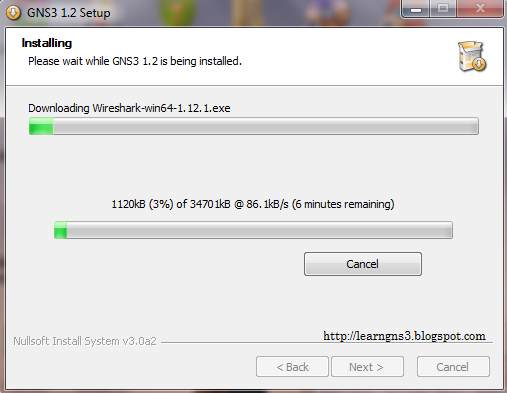
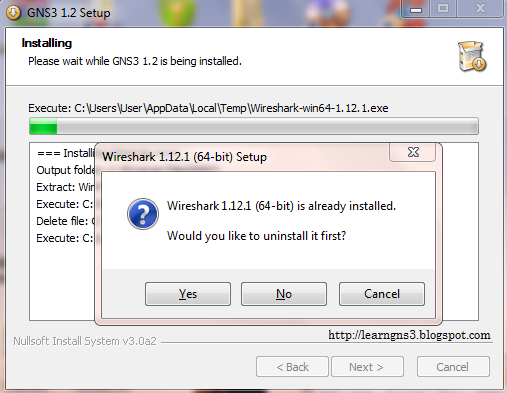
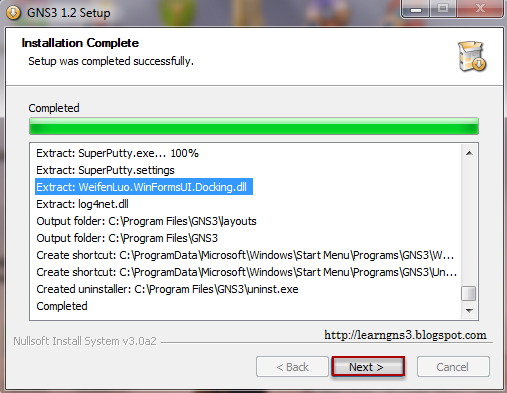
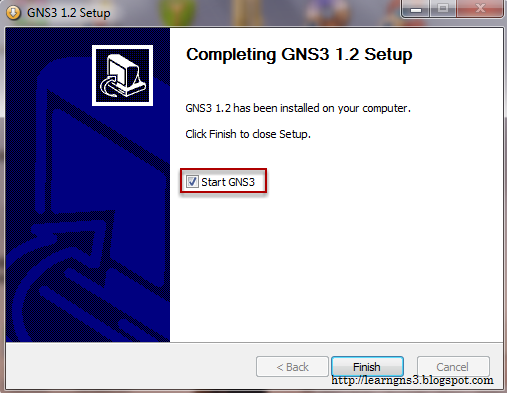
GNS3 1.2 had different skin layout.

Warning: Node Creation

media_1420362633963.png

It still allows to create a node after clicking OK. At certain point, there will be error occurred after connecting the IOU to other devices.

media_1420364114052.png

At some point, when creating topology, or connected with various IOU or devices, there will be error that you might encountered example:
=> Server error [-3200] from 127.0.0.1:8000: R1: Could not communicate with 127.0.0.1:7202
Server error [-3200] : Communication timed out with 127.0.0.1:7202 :[WinError 10053] An established connection was aborted by the software in your host machine
Server error [-3200] from 127.0.0.1:8000: R1: Could not communicate with 127.0.0.1:7202

Allowing Internet Connection to GNS3 IOU VM

media_1420363653214.png

Internet connection is required to allow the GNS3 IOU VM to download packages from the internet to upgrade the software.
Note: The GNS3 IOU VM is current running, hence you might need to re-enable the network interface inside the GNS3 IOU VM.

media_1420363689830.png

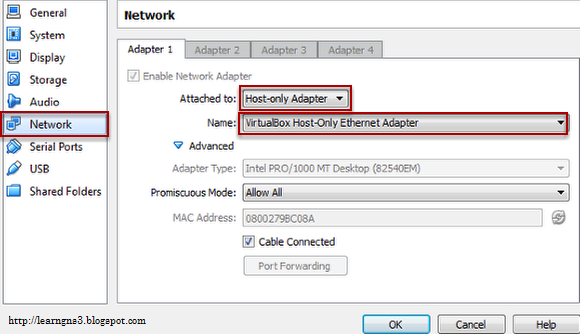
This is the default Network configuration settings. Be sure to change back to this settings once the GNS3 IOU VM had been updated.

media_1420373936216.png

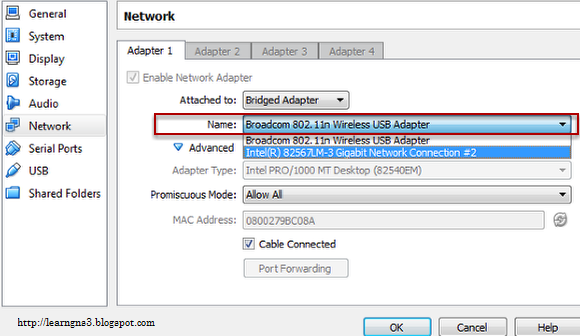
Note: If you had more than two Network Connection e.g. Wireless connection and LAN connection, make sure you select the one with Internet Connection. In this scenario, Broadcom 802.11n Wireless USB adapter is selected as I am using Wireless for my Internet connection from my laptop.

media_1420374216700.png

In the GNS3 IOU VM Virtualbox Console, disabling and enabling of the ethernet port 0 is required to allow the settings to take effect.
root@gns3-iouvm:~# ifdown eth0
root@gns3-iouvm:~# ifup eth0

Note: If you had not Power On the GNS3 IOU VM from Virtualbox and applied the settings, than this steps is not required. Just Power on the VM after apply the network settings.

media_1420375801878.png

root@gns3-iouvm:~# pip3 install gns3-server==1.2

media_1420376018355.png

media_1420376094242.png

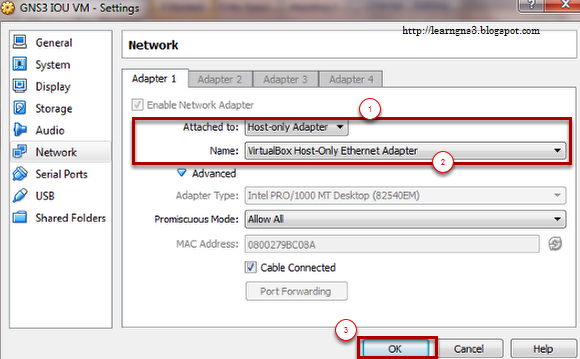
Remember to change the network settings back from GNS3 IOU VM Settings. Ensure to change the
Attached to: Host-only Adapter
Name: VirtualBox Host-Only Ethernet Adapter

media_1420376559499.png

Go back to the GNS3 IOU VM Console and reboot the GNS3 IOU VM.
root@gns3-iouvm:~# reboot

Upgrading GNS3 1.1 to GNS3 1.2

Refer to the "What's New" in GNS3 1.2 to obtain a copy of GNS3 1.2 version for Windows.

When running the GNS3 1.X setup file, usually there will be an security prompt for Windows 7 users "The publisher could not be verified. Are you sure you want to run this software?" Proceed to press Run button to continue.

media_1420273469618.png

Select Next > to proceed

media_1420273511073.png

Select I Agree.

media_1420273520425.png

Select Next >

media_1420273575842.png

Select Next >
Note: SuperPutty is optional as this is use for Terminal Console e.g. Telnet, SSH

media_1420273581751.png

Select Install and it will be placed in the default directory C:\Program Files\GNS3. Difference path and destination folder can be selected.

media_1420273595458.png

Since WinPcap 4.1.3 had been installed, proceed to press Cancel. If you still want to install WinPcap, refer to previous post on GNS3 1.1 Part 1 guide.

media_1420273644772.png

Select cancel if you had previously install GNS3 1.1 before as GNS3 1.1 uses Wireshark(64-bit) 1.12.1. Wireshark 32-bit is the same version as well.

media_1420273899668.png

If you previous install Wireshark before from GNS3 1.1, just select Cancel as the wireshark version is the same. This applied to Wireshark 1.12.1 (32-bit) as well. If you still want to install Wireshark. refer to previous post on GNS3 1.1 Part 1 guide.

media_1420273979908.png

If you previous install SolarWinds Response Time Viewer before from GNS3 1.1, just select Cancel as the SolarWinds Response Time Viewer version is the same. If you still want to install refer to previous post on GNS3 1.1 Part 2 guide.

media_1420273999937.png

media_1420274012059.png

Select Next >

media_1420274020721.png

Prefer to uncheck before pressing the finish button.

What's New in GNS3 1.2

GNS3 1.2 version has released on 20th November 2014, and they have introduced so many new features like:
  • New VirtualBox support.
  • New GUI styles: charcoal (default) & classic. Changing GUI Preferences.
  • Integration of GNS3 converter (allows old .net topologies to be opened).
  • VirtualBox linked clones support (experimental, still some problems with temporary projects).
  • Allow Qemu VM to have no interface.
  • Option to allow console connections to any local IP address when using the local server.
  • Automatically extract IOS configs when a project is closed.
  • Show the cancel button in Wizards on Mac OS X.
  • Fix crash on Windows 32-bit.
  • Fix “new project” bug when using the GNS3 IOU VM.
  • Fix “could not find unused port” WinError 10013 bug qemu-system-i386 is the new default on 32-bit platforms.
  • Option to deactivate the new project dialog at startup.
  • Add “open a project” and “recent projects” buttons to the new project dialog.
  • New host node (cloud with all available Ethernet & TAP interfaces added).
  • Fix platform detection issue with some Cisco IOS image file name.
  • Add delay (default 500 ms) when Console to all nodes.
  • Check for duplicate node names in Preferences.
  • Fix bug when editing a Qemu VM configured to run on a remote server.
  • News dock widget is smaller.
  • Add detection of qemu and qemu.exe binaries.
  • New Telnet server for VirtualBox.
  • Fix SecureCRT issue when disconnecting from an IOU device on Windows.
  • Update VPCS to version 0.6 in the all-in-one installer.
From Source: GNS Community
A copy of GNS3 1.2 for Windows can be download from this link (source 1)