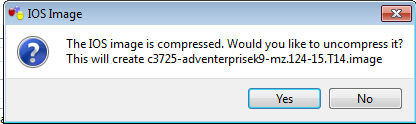
In this example, the IOS Image c3725-adventerprisek9-mz.124-15.T14 is used.
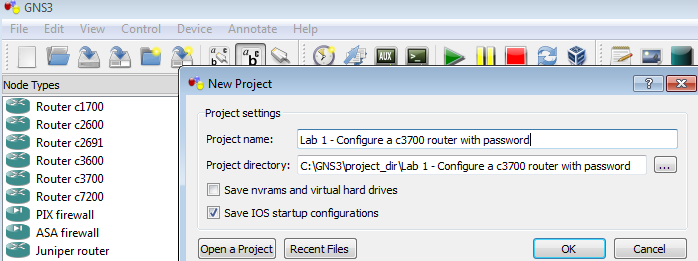
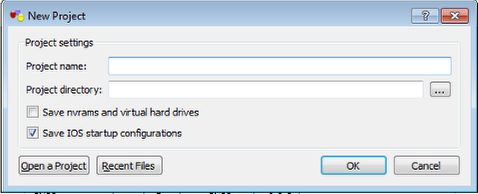
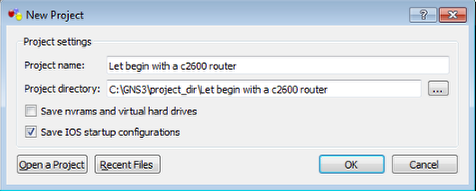
Creating a New Project (New Blank Project)
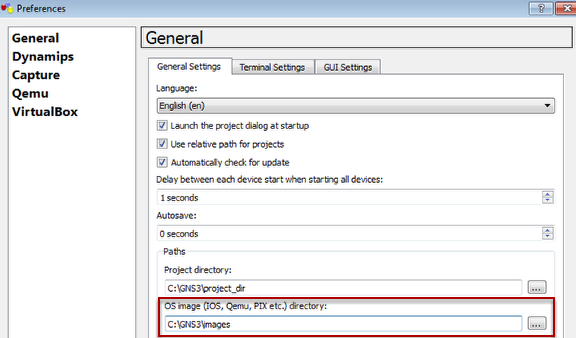
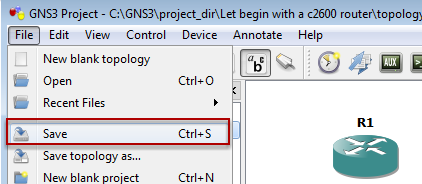
Use the New Project (New Blank Project), the project directory will be automatically created. The configuration will be saved in that folder.
If using a New Blank Topology, a location is required to save the project file which included the configuration. Therefore, using a New Project (New Blank Project) is always simple to managed the lab.
Click on the AUX does not work
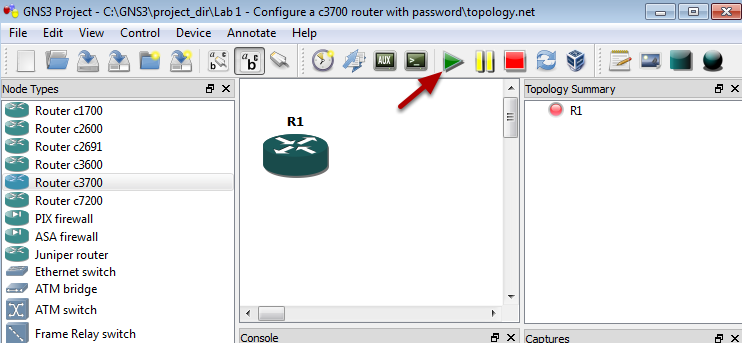
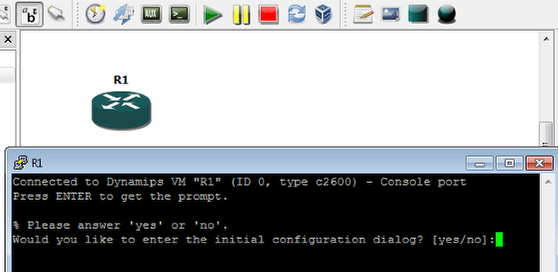
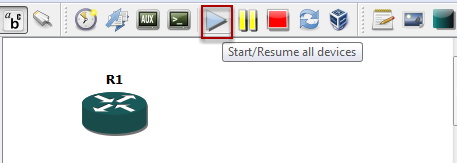
Start the Router, and click the AUX button. The router is still in the initial configuration setting and required to answer the prompt with Y or N.
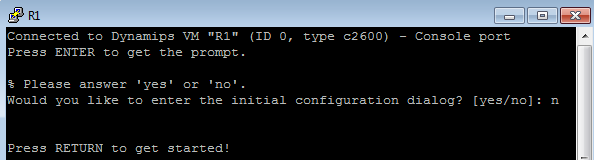
Click on the Console
It is best to answer no as it will required to configure, VLAN, hostname, password, etc... and there are tons of menu.
Press Enter to begin. There will be error message prompt warning that the ports is down. It should be fine.
Now use the AUX console
When using the AUX console, they would be so much disruption on the errors display message while typing the command. The reason for this is, the line between the line con 0 and vty is not synchrologize.
If the enable secret had been enabled, the router/switch will basically ignore the line con 0 password and uses the secret as enable secret is store in a higher mode as the password is encrypted.
Connected to Dynamips VM "R1" (ID 8, type c3725) - AUX port
Press ENTER to get the prompt.
Router#
Router#conf t
Enter configuration commands, one per line. End with CNTL/Z .
Router(config)#enable secret cisco1
Router(config)#line con 0
Router(config-line)#password cisco
Router(config-line)#end
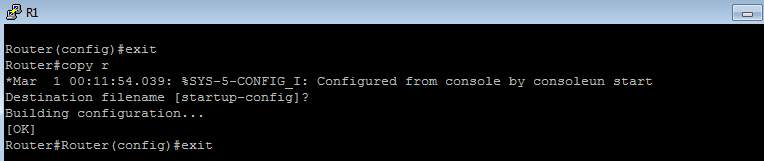
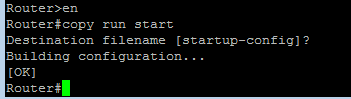
Router#copy run start
Destination filename [startup-config]?
Building configuration...
[OK]
Router#
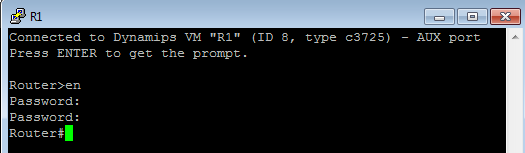
The first password that is type in is cisco but it does not work as the router had been configure with enable secret cisco1.
Connected to Dynamips VM "R1" (ID 8, type c3725) - AUX port
Press ENTER to get the prompt.
Router>en
Password:
Password:
Router#
The running config will be copy to the startup config. When the router boot up, it will get the startup config. If this is not done, whatever settings that is type or configure will not be able to startup whenever the router is switch off.
Connected to Dynamips VM "R1" (ID 8, type c3725) - Console port
Press ENTER to get the prompt.
Router#copy running-config startup-config
Destination filename [startup-config]?
Building configuration...
[OK]
Router#
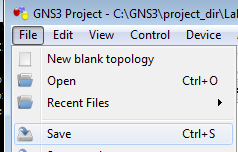
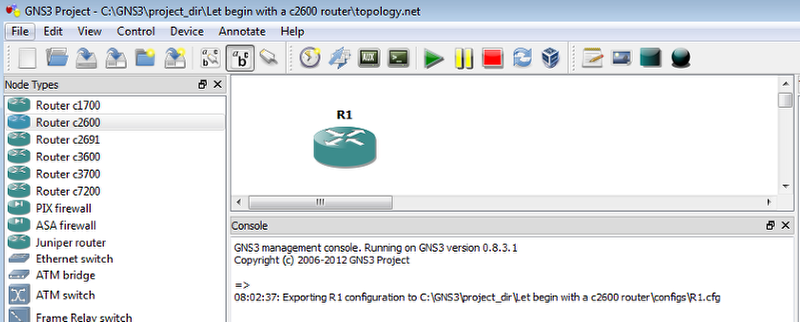
In the Project Directory folder where the New Project is stored
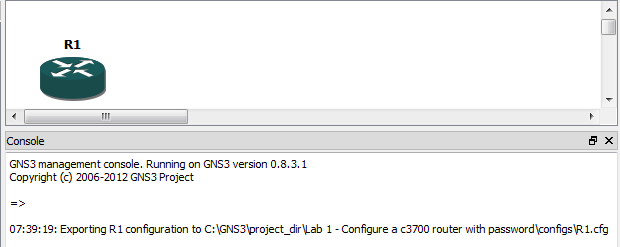
Inside the config folder, the R1.cfg will be there and the config is saved. Each time the router startup after a reboot or power-up, it will load the settings from the startup config.