First is to create Directory Structures folders for 'Images', "Other Work Area', "router initial configurations and etc...", "Dynamips Work Area and etc...", "Project Directory and etc...", Wireshark Capture". Created what is best for you. By creating this, there will not be messy settings and the process will be easier.
Creating Directory Structures folder

After creating the directory structure, launched the GNS3.
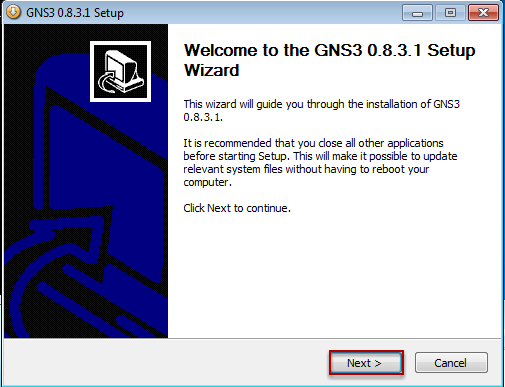
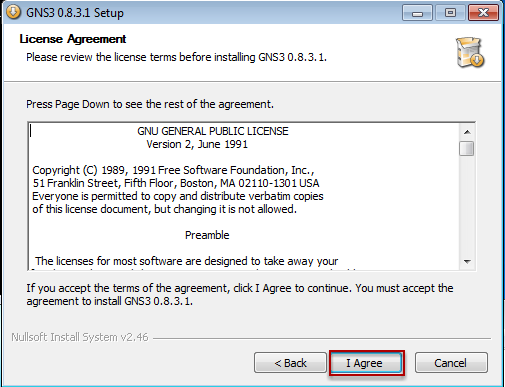
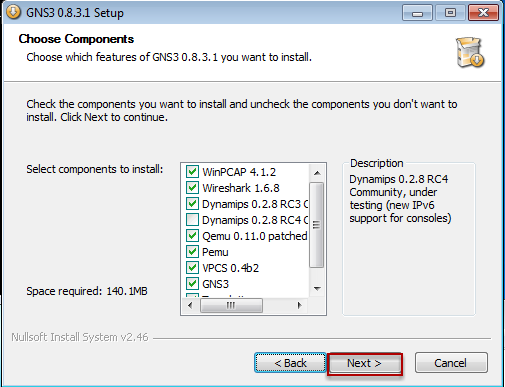
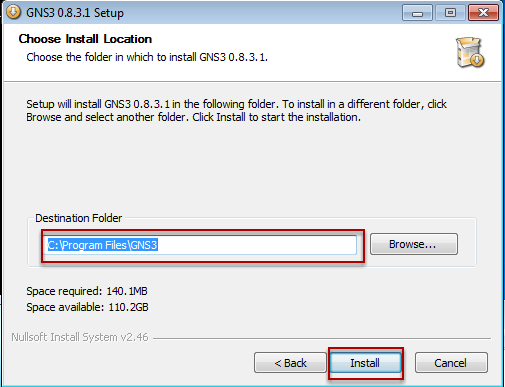
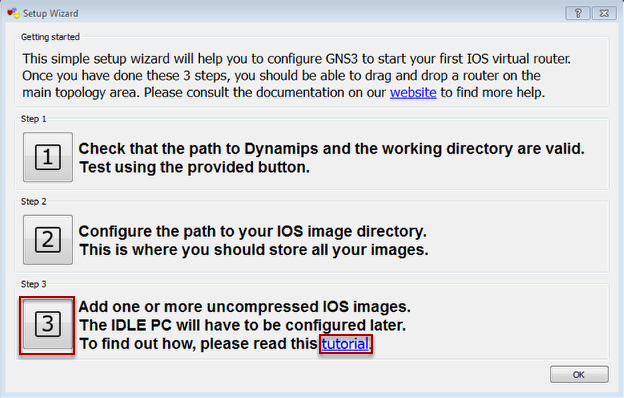
Setup Wizard
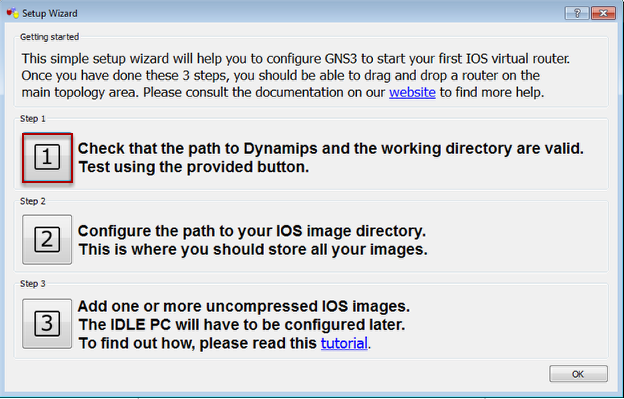
Select Step 1

Browse to the path where the Execute path to Dynamips is stored e.g. C:\Program Files\GNS3\dynamips.exe
Browse to the path where the Working directory for Dynamips is stored e.g. C:\GNS\project_dir
Browse to the path where the Working directory for Dynamips is stored e.g. C:\GNS\project_dir
Dynamips Options
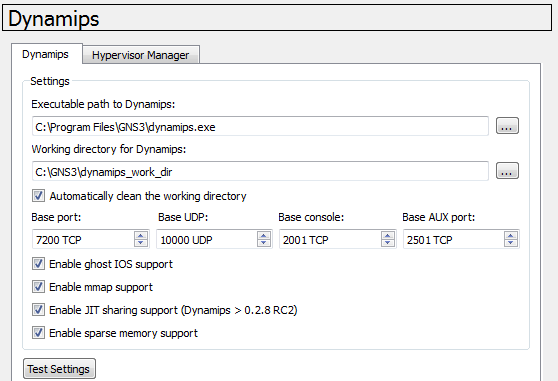
The ghost IOS option can significantly reduce the amount of real host RAM needed for labs with multiple routers running the same IOS image. With this feature, instead of each virtual router storing an identical copy of IOS in its virtual RAM, the host will allocate one shared region of memory that they will all utilize. So for example, if you are running 10 routers all with the same IOS image, and that image is 60 MB in size you will save 9*60 = 540 MB of real RAM when running your lab. Ghost IOS is enabled by default in GNS3.
Enabling JIT sharing this feature technically allows VMs to share JIT blocks, instead of recompiling multiple times in a non-shared way.
Enable sparse memory support allows GNS3 to control memory handling hence memory will be utilized as need on each running devices and unused memory will be swapped to hard-disk. If you running on Windows 64bit with more than 4GB ram, turning this off could be a good options.
For further explaination, refer to this website http://www.gns3.net/gns3-memory-cpu-usage/
Dynamips Options - Test Settings

Click Test Settings
Allow access for dynamips
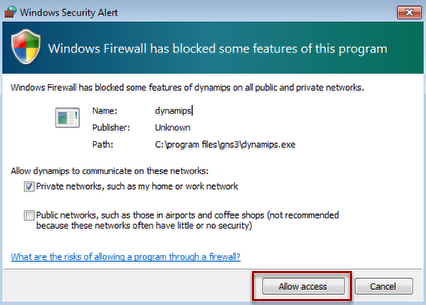
Make sure the dynamips is allow in the Windows Firewall rules. Click Allow access.
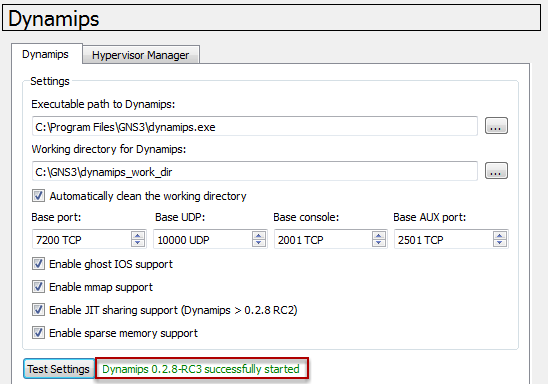
On Executable path, browse the path where the dynamips.exe is stored. For Working directory, create a subfolder temp in folder. After that, click on "Test Settings" and you should see a message, that Dynamips 0.2.8-RC3 was successful started. For Hypervisor Manager leave the default settings. Click Apply and go to tab Capture.
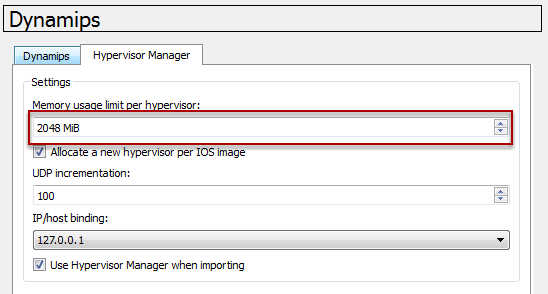
The default Memory usage limit per hypervisor is 512 MiB, set it to 2048 MiB. The GNS3 is run on hypervisors internally, which means it does not required to start the process manually. This Hypervisor manager helps to address the memory usage limit per process problem when running many IOS instances on a single hypervisor. In most cases, 2048 MiB is ideally enough to start at least 4 - 8 routers.
GNS3 General Preferences

Browse to the path where the Project Directory is stored e.g. C:\GNS\project_dir
Browse to the path where the OS Image is stored e.g. C:\GNS3\images
Browse to the path where the OS Image is stored e.g. C:\GNS3\images
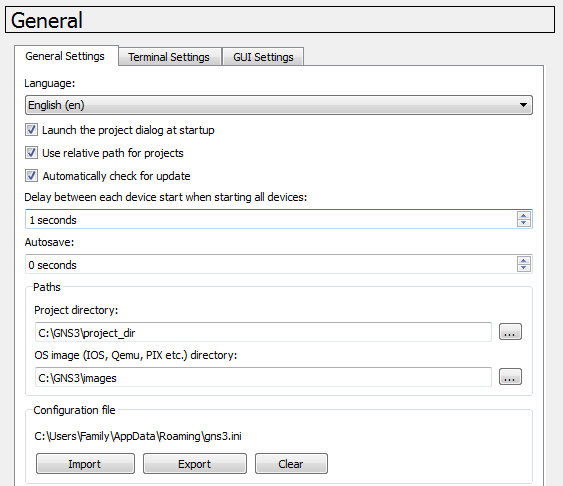
The Project directory and the OS image path had been selected.
Terminal Settings
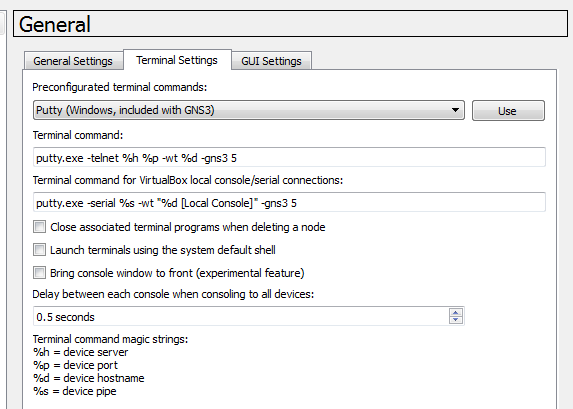
Putty is included with the GNS3 installation, but SecureCRT, Telnet and Teraterm are supported as well.
Capture Preferences
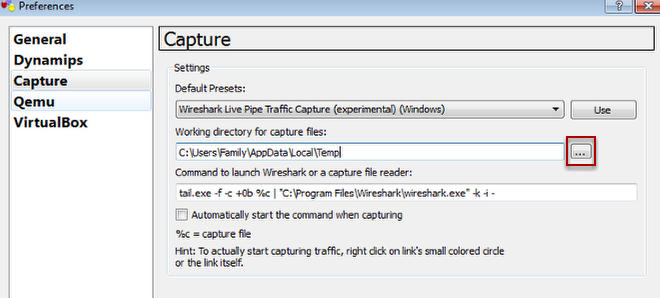
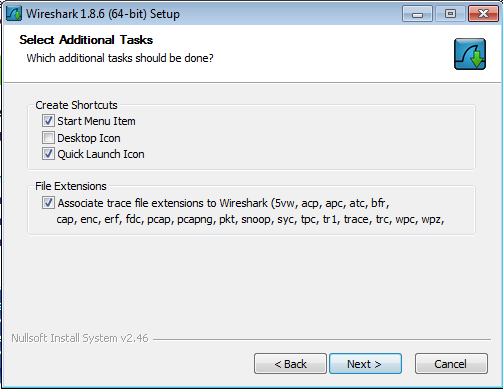
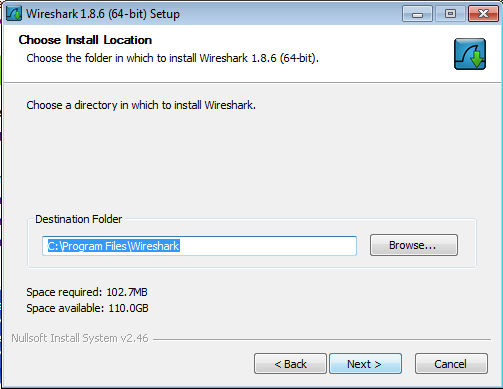
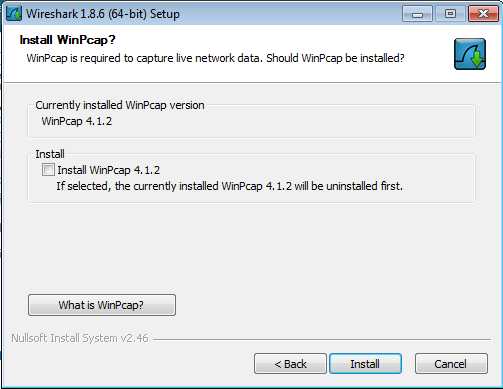
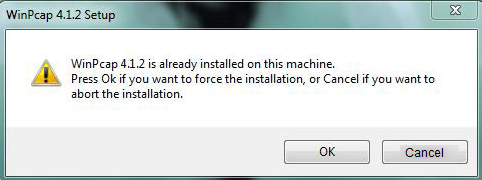
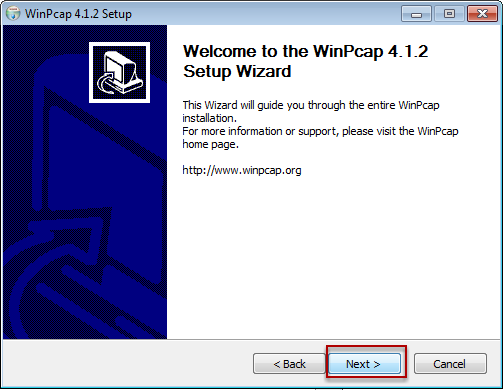
In the previous installation and setup, Wireshark 1.6 is installed.

If this option is not selected, the default will be Wireshark Live Pip Traffic Capture (experimental) (Windows).
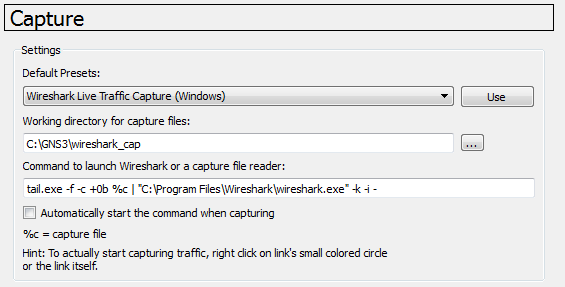
Use Wireshark Live Traffic Capture (Windows) for best results.
Qemu Preferences
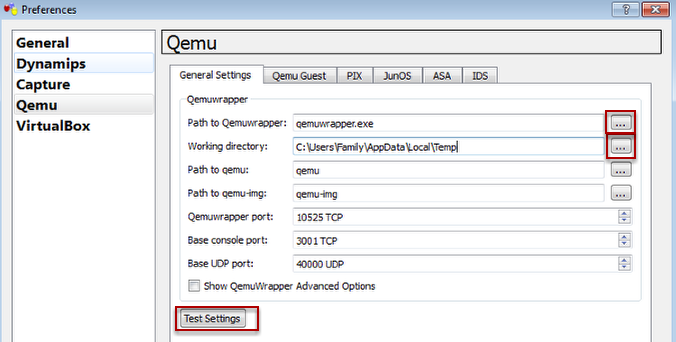
Browse to the path where the Qemuwrapper is stored e.g. C:\Program Files\GNS\Qemuwrapper.exe
Browse to the path where the Working directory is stored e.g. C:\GNS3\workarea
Browse to the path where the Working directory is stored e.g. C:\GNS3\workarea

VirtualBox Preferences

Browse to the path where the vboxwrapper.exe is stored e.g. C:\Program Files\GNS\vboxwrapper.exe
Browse to the path where the Working directory is stored e.g. C:\GNS3\workarea
Browse to the path where the Working directory is stored e.g. C:\GNS3\workarea
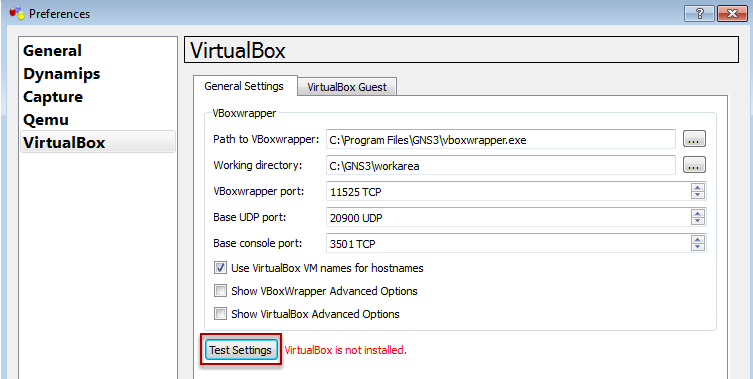
The Virtualbox version 4.2 application need to be installed which will be covered on the next section. If the GNS3 is running on version 0.8.3.1, only Virtualbox 4.2 is supported for the VBoxwrapper. If you are planning to used or installed Virtualbox 4.1, revert to download and install GNS 0.8.2.
General Preference

Click Apply and OK.
Setup Wizard
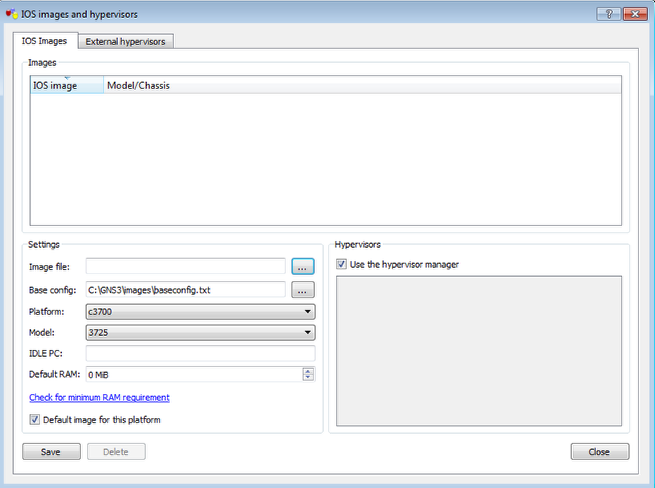
IOS images and hypervisors Preferences
This is just an overview.
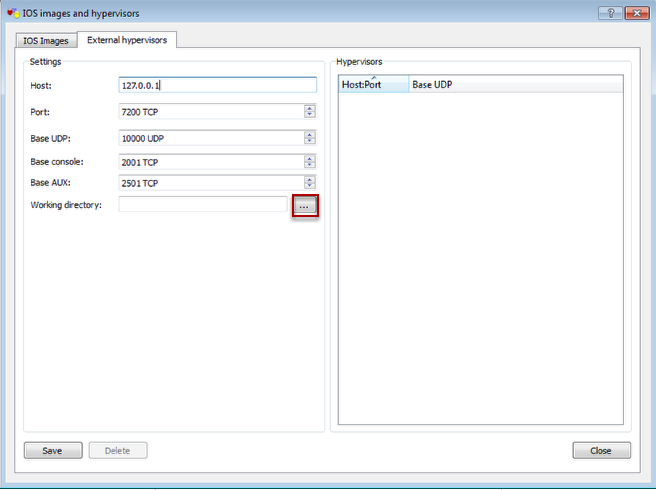
Browse to the path where the Working directory is stored e.g. C:\GNS\temp

Click Save. The Hypervisor will appeared with the Host UDP port number. The more you click Save, the more Hypervisor hosts will be assigned. Click Save at least 4 times to create 4 Hypervisor Hosts. Four instances will appeared and these settings optimal for more at least Pentium 4 cpu processors, which support Hyper-Threading (HT).
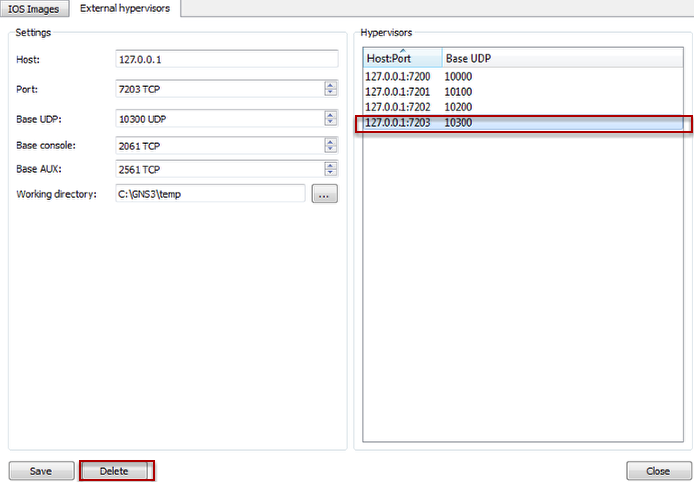
The Hypervisor Host can be deleted by selecting the Host:Port and click Delete.