Refer to the "What's New" in GNS3 1.2 to obtain a copy of GNS3 1.2 version for Windows.
When running the GNS3 1.X setup file, usually there will be an security prompt for Windows 7 users "The publisher could not be verified. Are you sure you want to run this software?" Proceed to press Run button to continue.

Select Next > to proceed

Select I Agree.
Select Next >
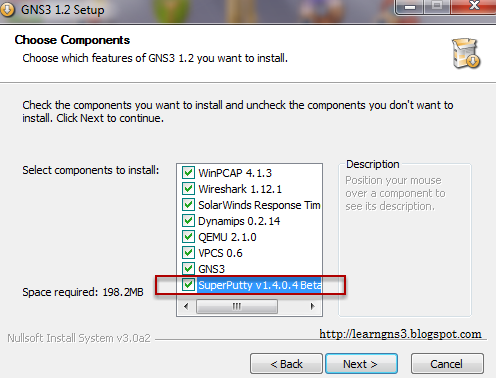
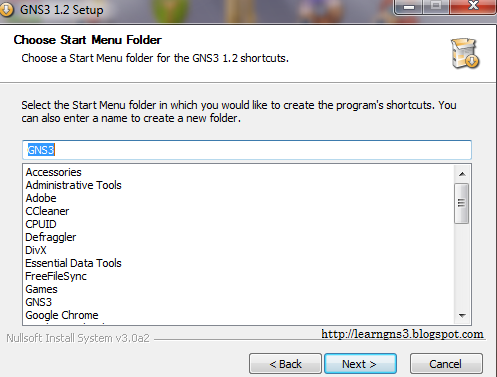
Select Next >
Note: SuperPutty is optional as this is use for Terminal Console e.g. Telnet, SSH
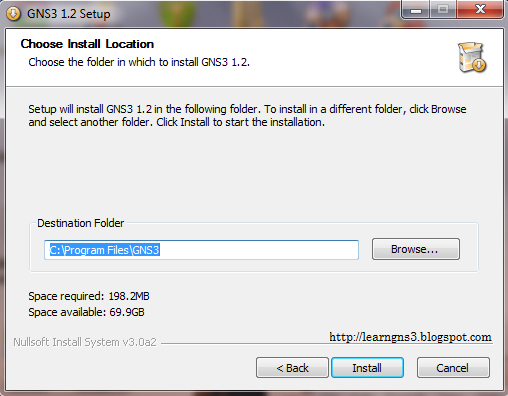
Select Install and it will be placed in the default directory C:\Program Files\GNS3. Difference path and destination folder can be selected.
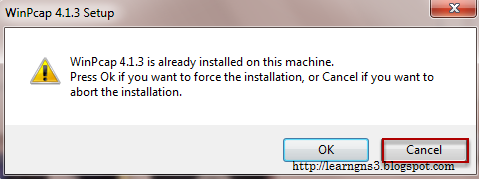
Since WinPcap 4.1.3 had been installed, proceed to press Cancel. If you still want to install WinPcap, refer to previous post on GNS3 1.1 Part 1 guide.
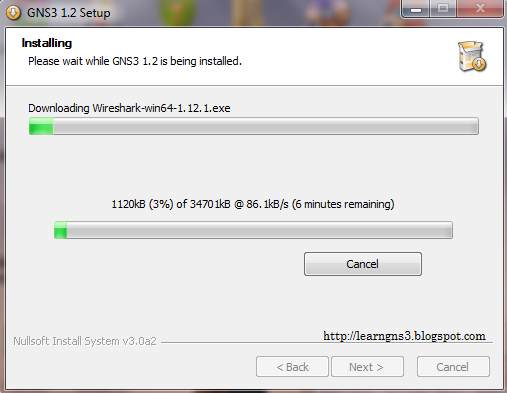
Select cancel if you had previously install GNS3 1.1 before as GNS3 1.1 uses Wireshark(64-bit) 1.12.1. Wireshark 32-bit is the same version as well.
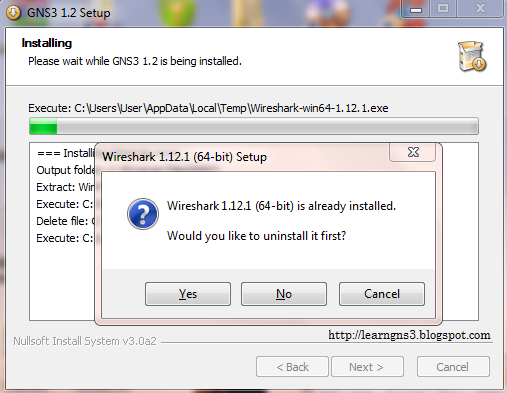
If you previous install Wireshark before from GNS3 1.1, just select Cancel as the wireshark version is the same. This applied to Wireshark 1.12.1 (32-bit) as well. If you still want to install Wireshark. refer to previous post on GNS3 1.1 Part 1 guide.

If you previous install SolarWinds Response Time Viewer before from GNS3 1.1, just select Cancel as the SolarWinds Response Time Viewer version is the same. If you still want to install refer to previous post on GNS3 1.1 Part 2 guide.

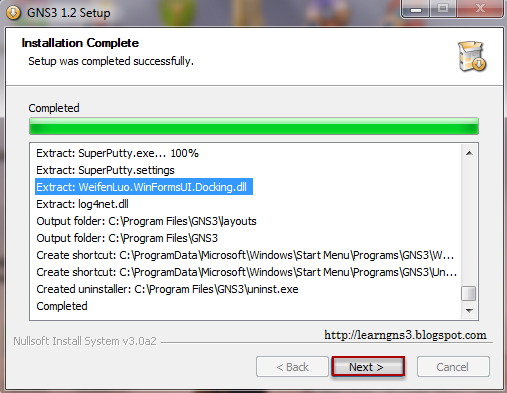
Select Next >
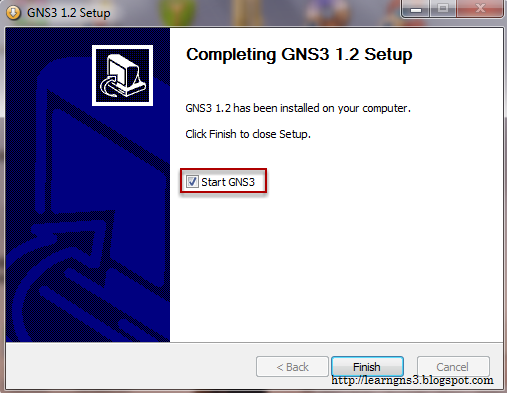
Prefer to uncheck before pressing the finish button.